Let's assume we have callibrated our monitor and selected the working space (or "colour space") we want to work with (more information on working space here). It's now time to turn Photoshop colour management on and tell the program how we want to handle our images.
How to
Go to Color Settings (Edit > Color Settings). You will need to make the required changes below to set-up your colour settings.
Step One: Under Working Spaces, select Adobe RGB (1998) for the RGB profile.
As an alternative, you could use sRGB, and for a lot of labs, that's the best option. It's not for QBY, as we work hard to get the best out of our printers and media, and Adobe 1998 is a wider gamut (offers more colours). Click here for more about Working Spaces.
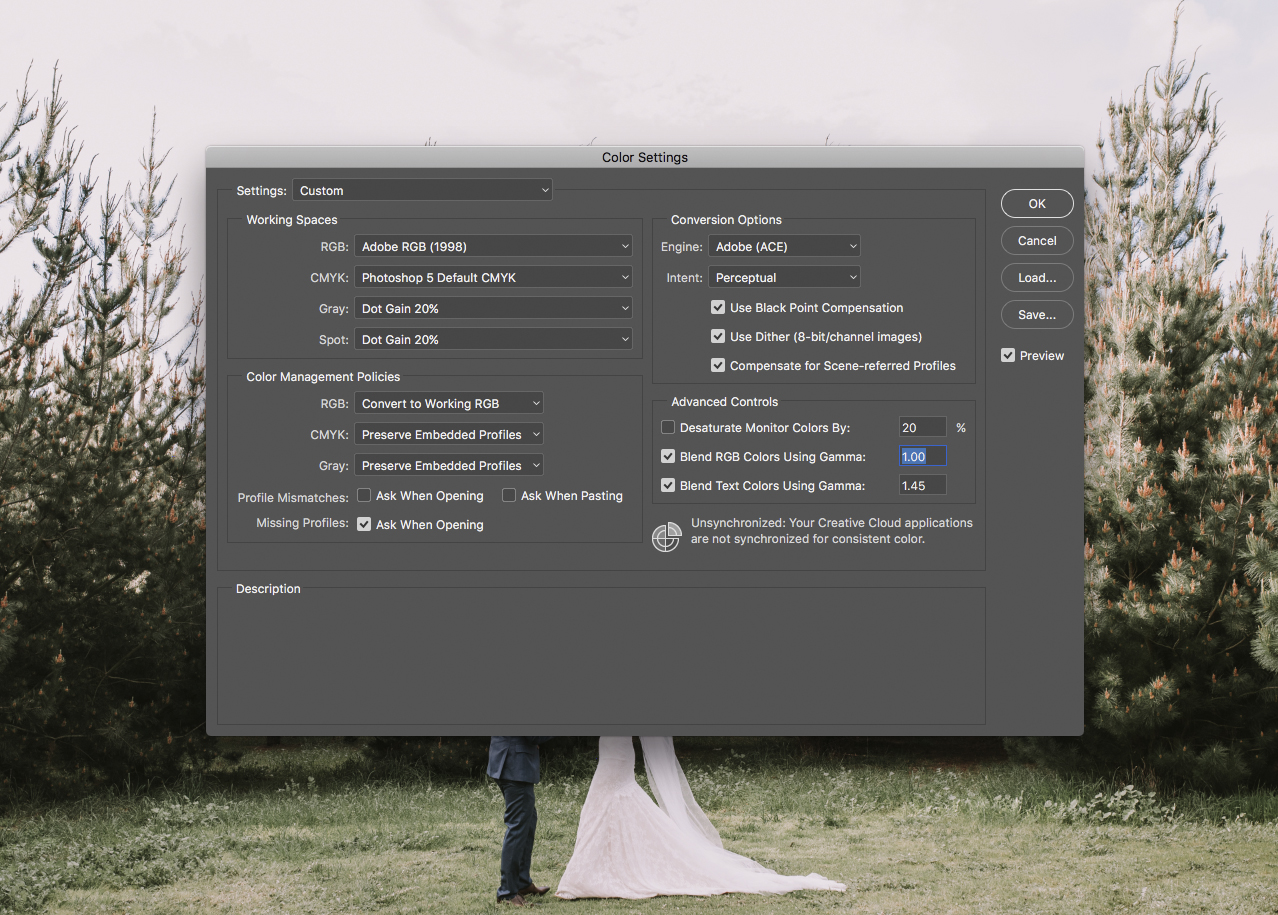
Step Two: Under Colour Management Policies, select "Convert to Working RGB".
You'll need to decide whether to check the "Ask When Opening" and "Ask When Pasting" check boxes for Profile Mismatches and/or Missing Profiles.
At Queensberry we need to know when a client sends us an image without a profile, so we always check "Ask When Opening" for Missing Profiles, and we recommend you do the same. This means you will be alerted and can make conscious decisions about how your image is treated.
On the other hand, we routinely convert profiled images sent to us by clients, (eg from sRGB to Adobe RGB), so we leave the Mismatch boxes unchecked. Otherwise we would spend all day hitting OK! You need to make your own decision about this. For example if your camera is set to produce Adobe 1998 files and that's your working space, mismatches should not normally occur and may indicate a problem so the mismatch messages may be helpful.
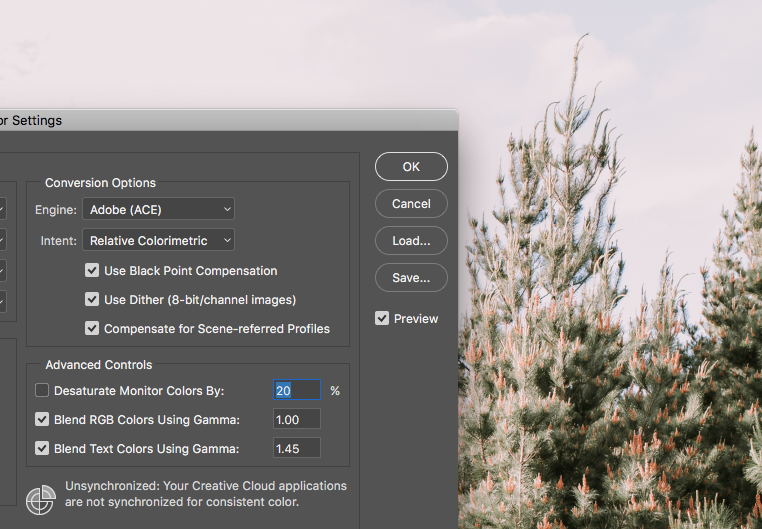
Step Three: Under Conversion Options… Intent, select "Perceptual"
To match what we do and see at Queensberry, Perceptual is the right option. Perceptual is the correct choice whenever you routinely convert from a large colour space to a smaller one (eg to sRGB from Adobe RGB (1998), or a custom profile that takes full advantage of your fantastic new camera).
Step Four: Check both Black Point Compensation and Use Dither.
Step Five: Under Advanced Controls check Blend RGB Colours Using Gamma = 1.0.
Alexandria
Comments
plvan
A very helpful article. I started learning photoshop I found your post very helpful thank you for sharing it all the step very clearly. http://www.plvan.com/